Installing roof trusses
https://www.youtube.com/watch?v=AuvaumUXKeE
There are many different types of roof designs. Today, we look at installing a hip roof. The first step is to refer to your steel frame fabricator's instructions, which will step you through the correct sequence for installation. Some frame manufacturers pre punch the truss locations.
For other systems, you will need to mark out the locations on the top plate, referring to the plans provided.
Install the first station truncated truss on the marked locations on the top plate.
Plum and fasten into position using the number and type of screws advised.
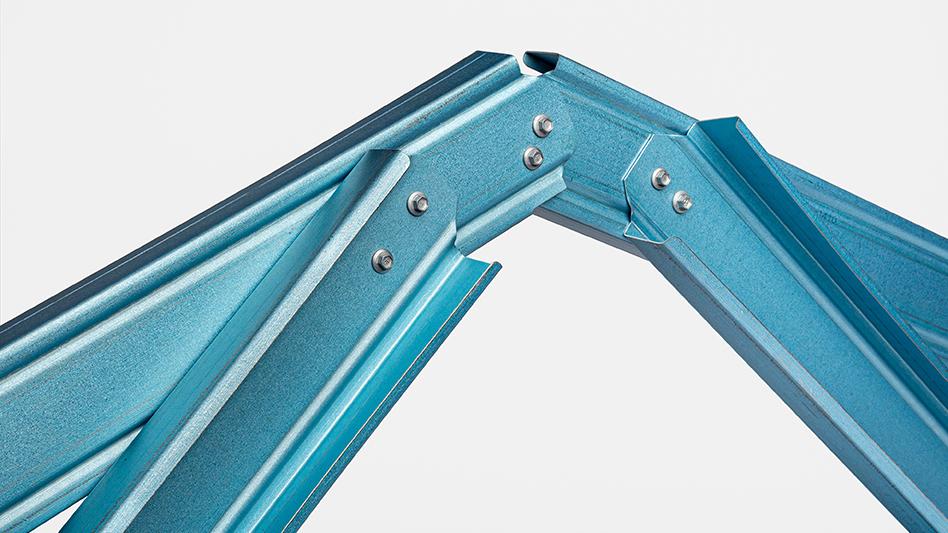
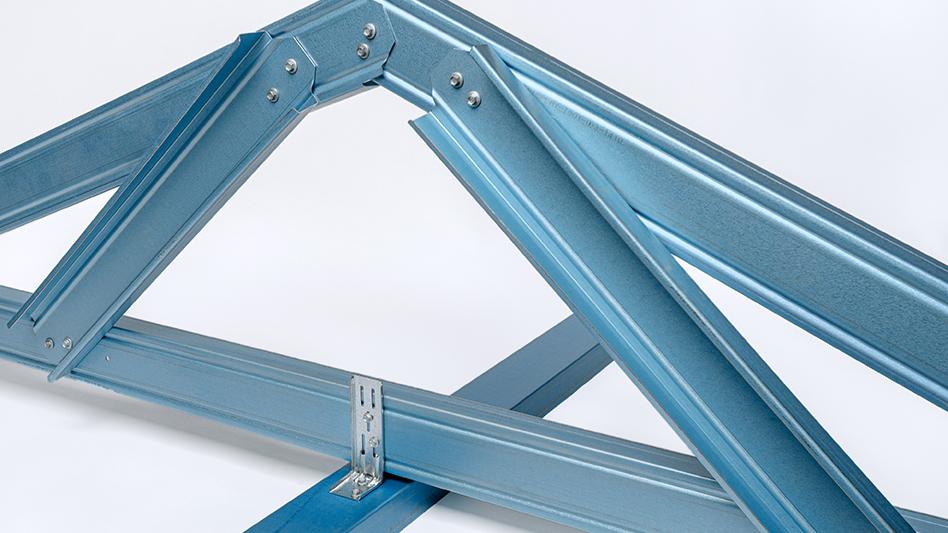
Install the outermost common rafters. ensuring alignment of fastening points. Pre-bend tabs of connecting plate roughly 45 degrees to accept the hip rafters.
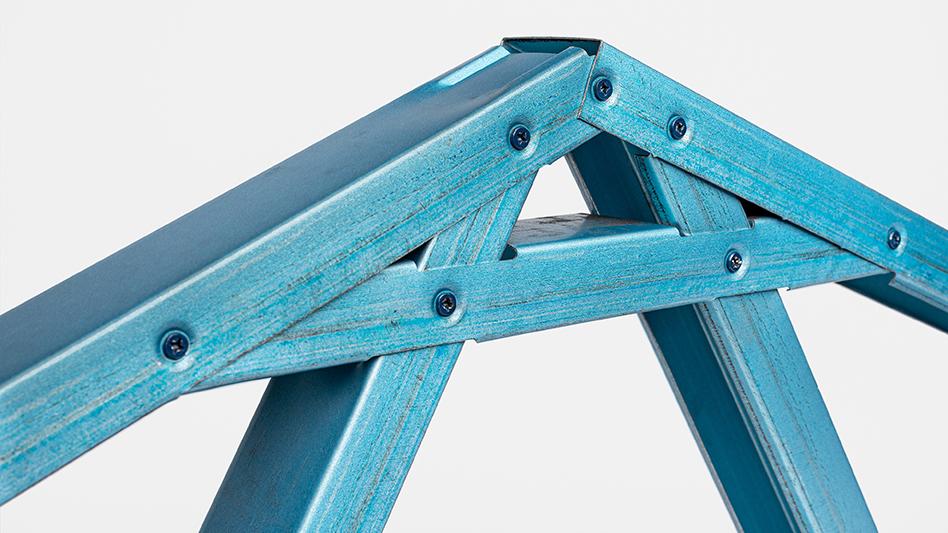
Insert the next truncated truss, securing as previously. Brace the truss with common rafters and fix in line with your frame manufacturer's instructions.
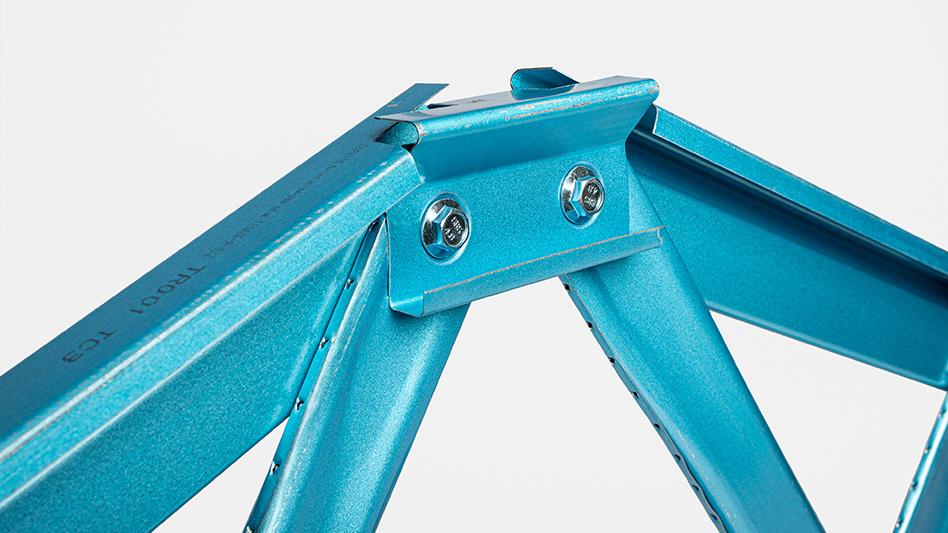
Install the boxed hip rafter. Slide into position and align holes, ensuring the back tabs align.
Open the hip ends. Position the creeper rafters. Fix off at each end at each section of the hips.
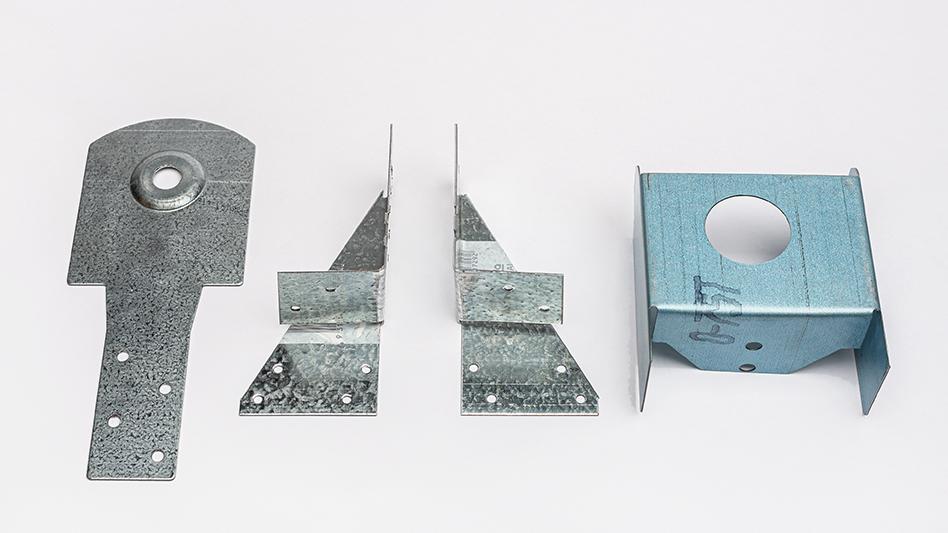
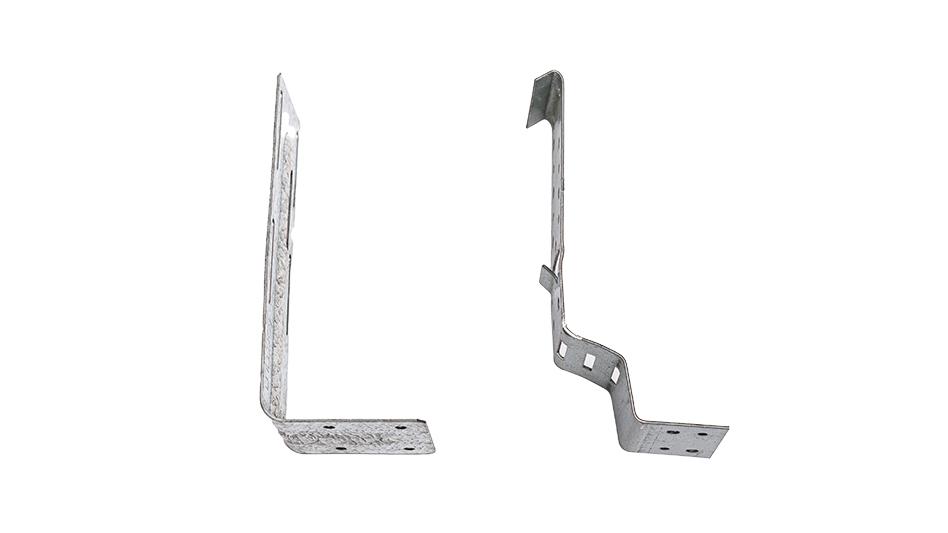
Finally, grab 1 mm hip rafter hold-down straps over the hip ends and fix to each end of the wall panels with 3x 12/14x20 hex head self-tapping screws and one screw to the top face of the hip rafter.